Hope you all had a great New Years! I’m still trying to overcome my laziness from the holiday week, so in the meantime I’ve accumulated a few snapshots from my New Years Eve and some last minute DIY decorating ideas! It was super last minute planning for me and my sister but I think we did a pretty good job at decorating with what we had!

Amy printed out these clocks which we cut and glued onto bamboo sticks, you can plop these anywhere to make things more festive, we stuck them in vases, cups, and into the panna cotta I made (why not?).
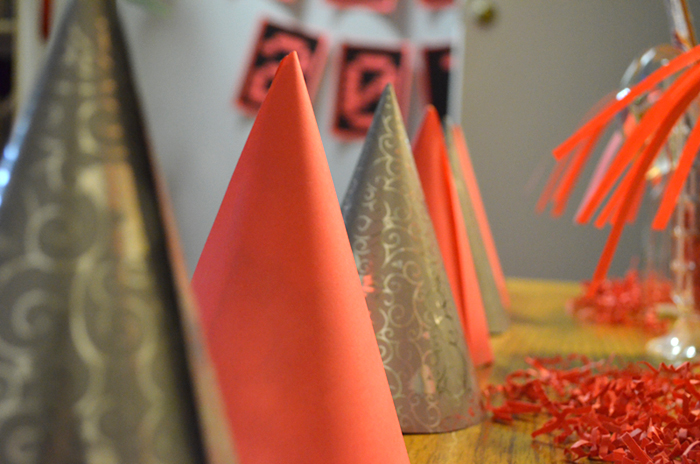
You can turn old birthday party hats into festive NYE party hats just by covering them with bright colored paper or left over wrapping paper (I used both). Anything shiny and bright will do. All you have to do is take apart one of the hats (essentially we’re just using it as a template) and lie it down onto your sheet of paper/wrapping paper, trace around it, cut it out, and tape it over your old party hats!
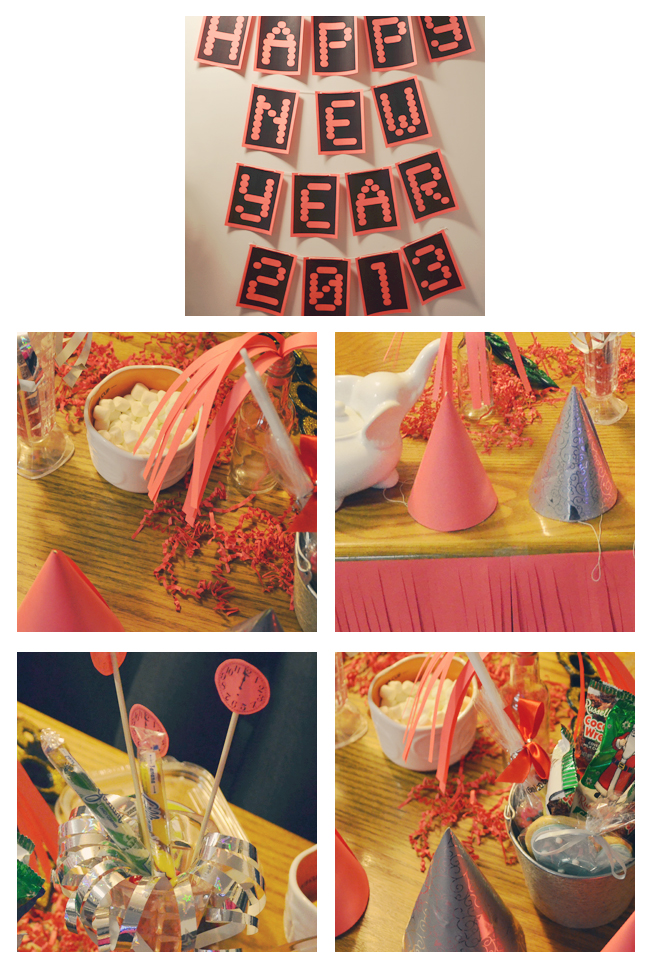 1) Amy printed out these letters, which we punched 2 holes at the top of each paper with a hole puncher, strung them together with yarn, and taped it up on an open wall. This was great for photo taking and our make shift photo booth. I downloaded PiciBooth on my iPad and stood it up on a stool across from the wall and done! I use a leather case for my iPad, so it stood up easily without a tripod.
2-5) Use whatever you have around your house that’ll spruce up your snack table. We used clear vases and empty bottles for candy, a silver bucket for miscellaneous goodies (this is perfect for leftover candy from xmas!), and these cute owl ceramic measuring cups to hold bite sized snacks like m&m’s, marshmallows, and pretzels. You can also cut some paper fringe for extra decoration around and on your table. Quick and easy!
I honestly can’t believe there’s only 10 more days left to 2012. A lot has changed since the beginning of this year and I can honestly say I would’ve never predicted I would be where I am today 12 months ago; freelancing, taking on web design gigs, creating new relationships and meeting new people, opening and selling stuff in my Etsy store, and being anxious, scared, but excited for each day. I read this article with Tina Roth Eisenberg (aka Swissmiss) and it really hit the nail on the head of the latter half of my year:
“But sometimes when we make our goals, we make them for the person we are at that moment, not for the person we’re going to be when we get there.”
— Tina Roth Eisenberg
My goals and outlook on my life now has changed since 6 months ago and I can feel it changing day to day as I learn more and more. I honestly believe ‘everything happens for a reason’, as cliche as that sounds, and through all the ups and downs I can say I’m happy, challenged, inspired, and grateful for everything and all the new opportunities that opened up this year.
“Success is a staircase not a doorway.”
— Dottie Walters
I think a lot of people lose sight and give up too soon before even starting. It’s still something that I’m learning and trying to figure out myself, but I think it’s a good reminder that whatever your definition of succes is that it’s a journey, not something you figure out overnight. And even if it’s a small success you should still reward yourself. I think sometimes people don’t give themselves enough credit.
Instagram has been my best friend this year (I’m sure for lots of people too), so here’s a collage of some photos from this year.

From left to right, top to bottom: 1. 2 dozen cupcakes for my 23rd birthday from Teaspoon Bakery / 2. Ippudo after work / 3. flowers at Sage / 4. brunch at Press / 5. Kung Fu Tea / 6. packaged orders from Etsy / 7. at Graphic Design – Now in Production / 8. new workspace / 9. at Le Fooding at the Brooklyn Flea / 10. “Expect less from people but more from yourself” pasted on my notebook cover / 11. at Traif / 12. on vacation in Mexico / 13. view from my work desk / 14. street view in Queens, NY / 15. at a Yankee game.
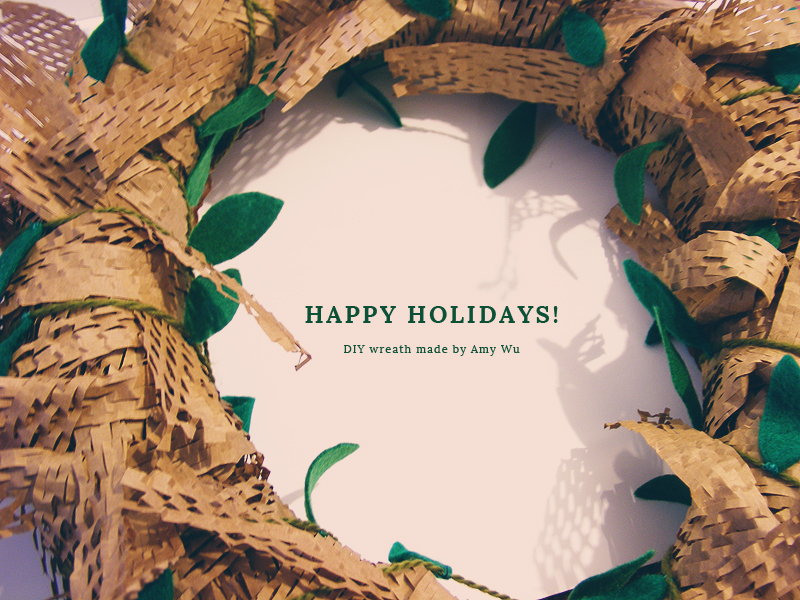
My sis can make anything into something, and this year she’s turning this filler paper into our wreath for the holidays. She made some cute mini gift boxes and trinkets to hang on to it as well. Will post photos once it’s done!
I love the holidays, especially Christmas time. Everything about Christmas gets everyone in such a giving and friendly mood, if only that were on a daily basis, but I guess that’s what makes this time of year so special. I’m so grateful for my family, boyfriend, and friends and I hope everyone’s holiday break, whether extravagant or not, is spent with your loved ones.
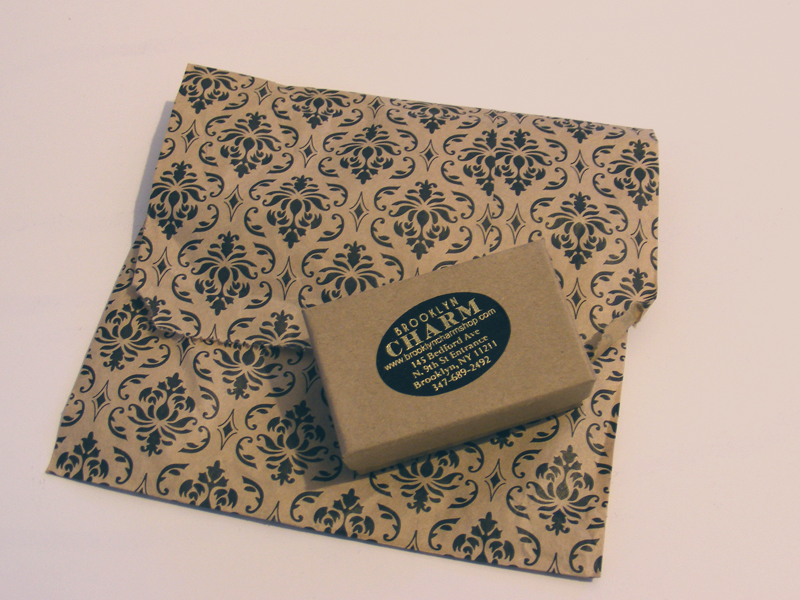
I got to visit Brooklyn Charm last week and take an Etsy Lab on jewelry making with Brooklyn Charm on Tuesday night and it was so much fun. This post will be about my visit to the shop and I’ll post pictures of the necklace my sis and I made from the Etsy Lab at a later time.
They have an Etsy shop as well as a shop in Brooklyn and for the holidays this year you can find them at the Union Square market. When you go there you’ll find a ton of charms to choose from, as well as chains, jump rings, and miscellaneous supplies for making jewelry, but they can also assemble your piece for you on the spot (it’s a $1 fee for each charm and that includes jump rings that they choose for you)! Engraving is also on the spot as well, it’s $5 for the first letter and then $1 for each additional letter. They’re super friendly and will work with you to get your piece assembled if you’re not sure how to put it all together.
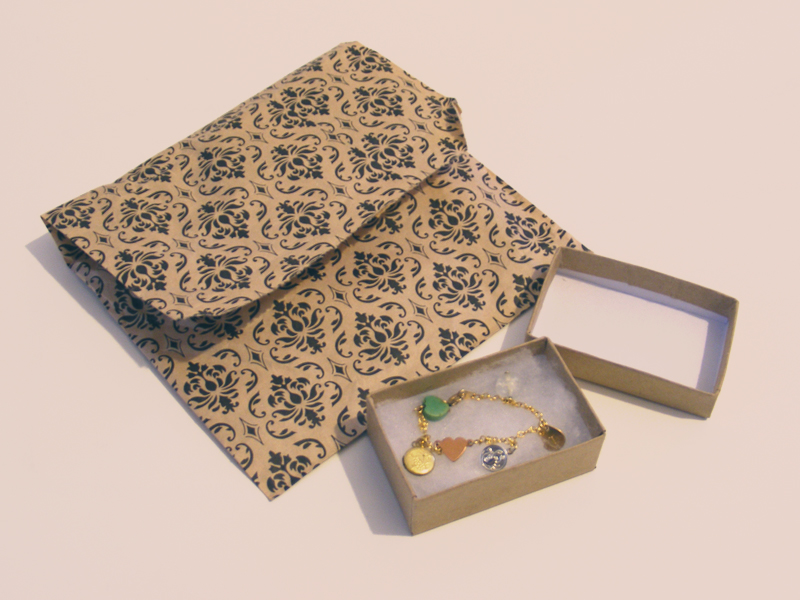
I decided to make a charm bracelet because I’ve been wearing one that I received when I was in elementary school (yes, it still fits! My wrists are super tiny) and I love the idea that you can choose different charms to represent you or your personal style. Knowing this is a one of a kind piece and has sentimental value makes it that much more special to me.


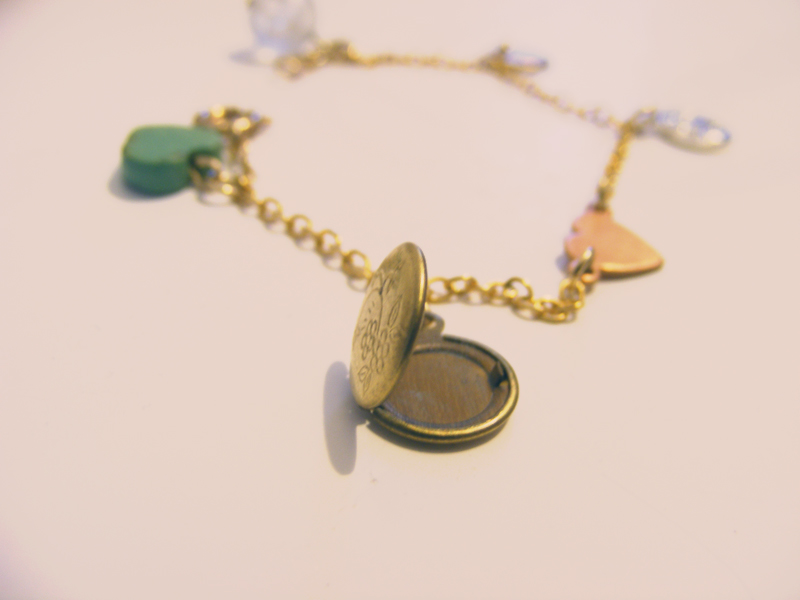
The charms I chose: rose gold heart ($2), scorpio ($6), teardrop with my initial ($6), circle locket ($3), green heart, translucent/white sphere, bracelet chain ($5). Prices are from what I can remember. I decided to mix up the metals by choosing different charms – silver, rose gold, gold, and threw in some color with the green and white. It’s not real gold, so I make sure not to wear it in the shower or leave it out when I’m not wearing it, so be sure to take care of your piece!
Thanks to my sis for bringing me here as a belated birthday gift! I highly recommend this place for gifts or a place to take someone out for a day with a family or friend. It may seem pricey, but well worth it!
“Don’t wait until everything is just right. It will never be perfect. There will always be challenges, obstacles and less than perfect conditions. So what. Get started now.”
— Mark Victor Hansen
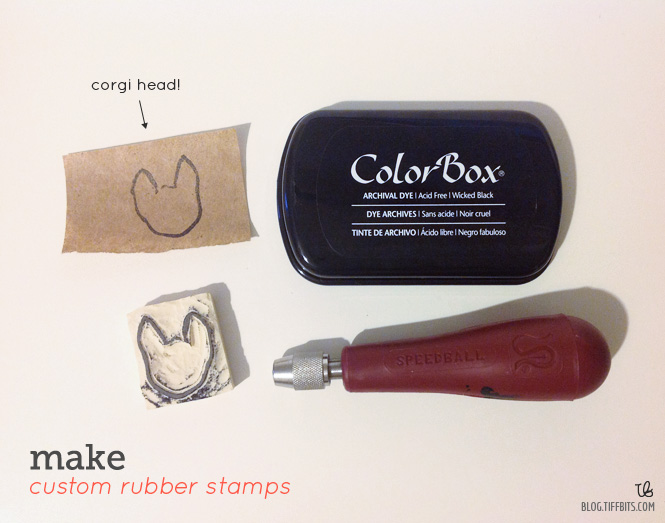
Since opening up my Etsy shop I’ve always wanted to make some custom stamps to spruce up the packaging and I finally got my hands on the materials. You can use these custom stamps for gift tags, on cardboard (if you’re packaging prints or cards) to make it look less drab, or on the wrapping paper. Here’s a walk through of my first time making a custom stamp!
Materials:
- Tracing Paper & Pencil (or regular paper will do)
- Rubber Block (any brand will do, or you can use an old eraser, just make sure it’s flat and is thick enough to cut into)
- Speedball Cutter
- Ink Pad (any will do, but I’m using this one)
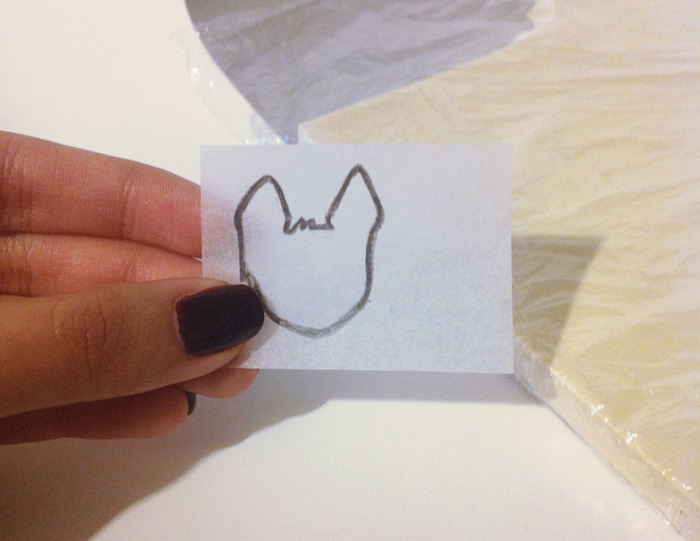
Start by drawing out your stamp design on to tracing paper. I like to outline it thicker, so it makes it easier to cut. Also, if you’re making the stamp as small as mine remember not to make your details too small because you won’t be able to carve them out precisely (unless you’re a pro Speedball cutter!). I had to omit the small hair wisps when cutting.
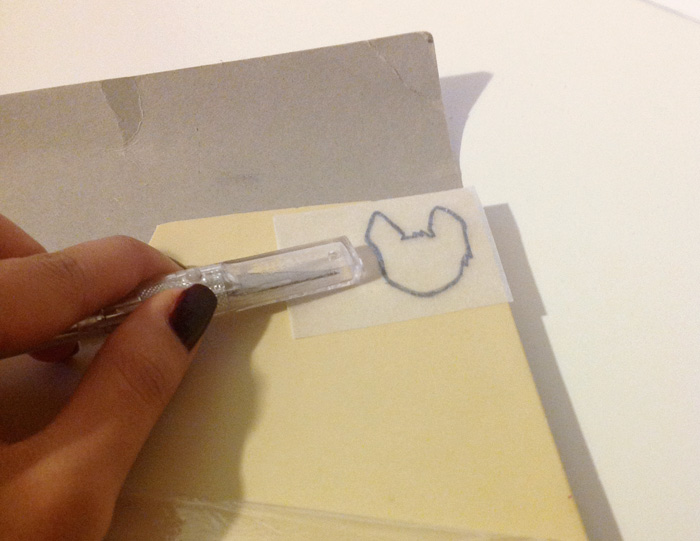
Flip your tracing onto the rubber block and use something to rub the tracing to transfer over to the rubber block.
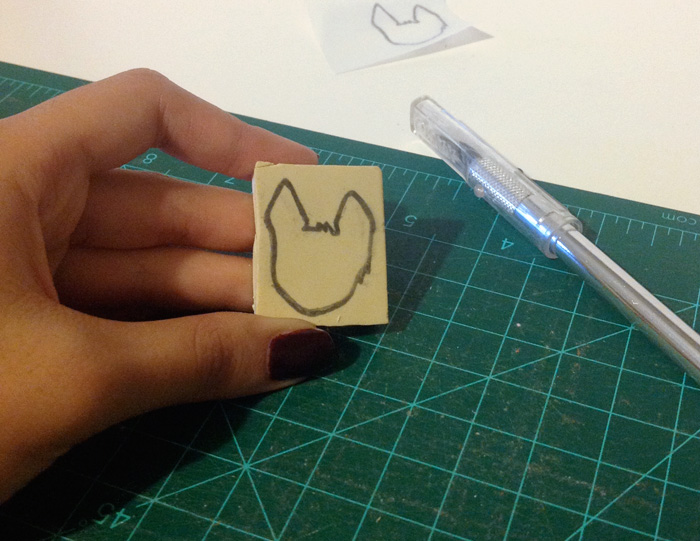
Ta-da! It should transfer effortlessly and then cut it out of the block. I’m not sure why I cut it off so close to the tracing, but you should leave enough space around it to make it easier to cut.
Read More…