Viewing all posts for DIY
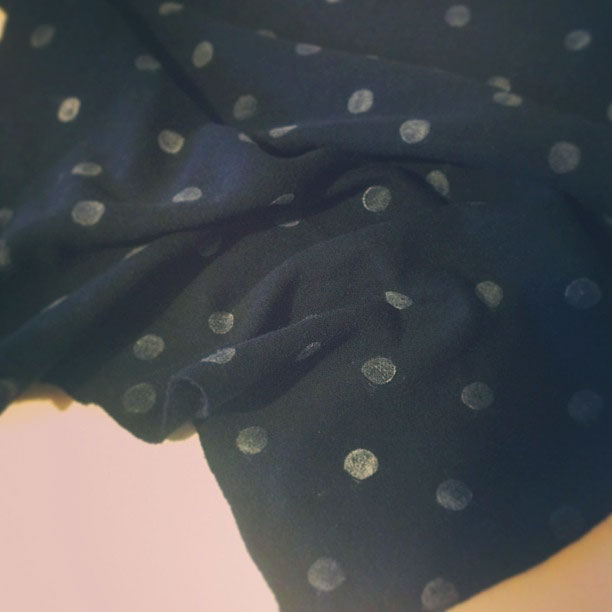
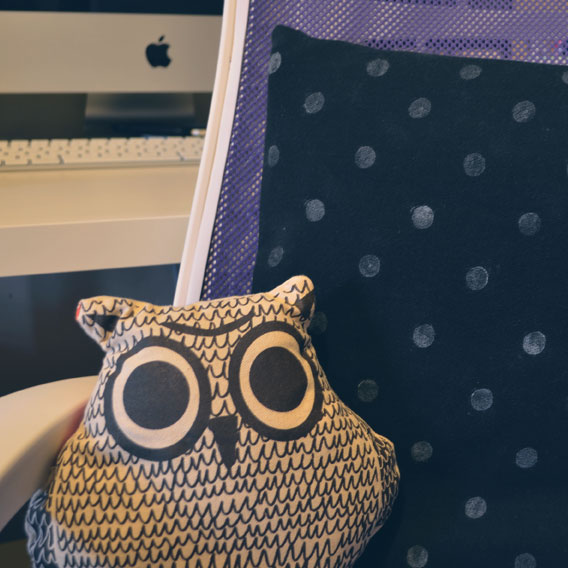
Did a trial run with a DIY polka dot pillow case and it didn’t turn out exactly as I hoped. The ink and material I used didn’t work well together and all my process photos I shot were too dark. Ah well, until next time folks!
A new addition to my table. Here are the super simple and quick steps I took to make this polka dot pattern!
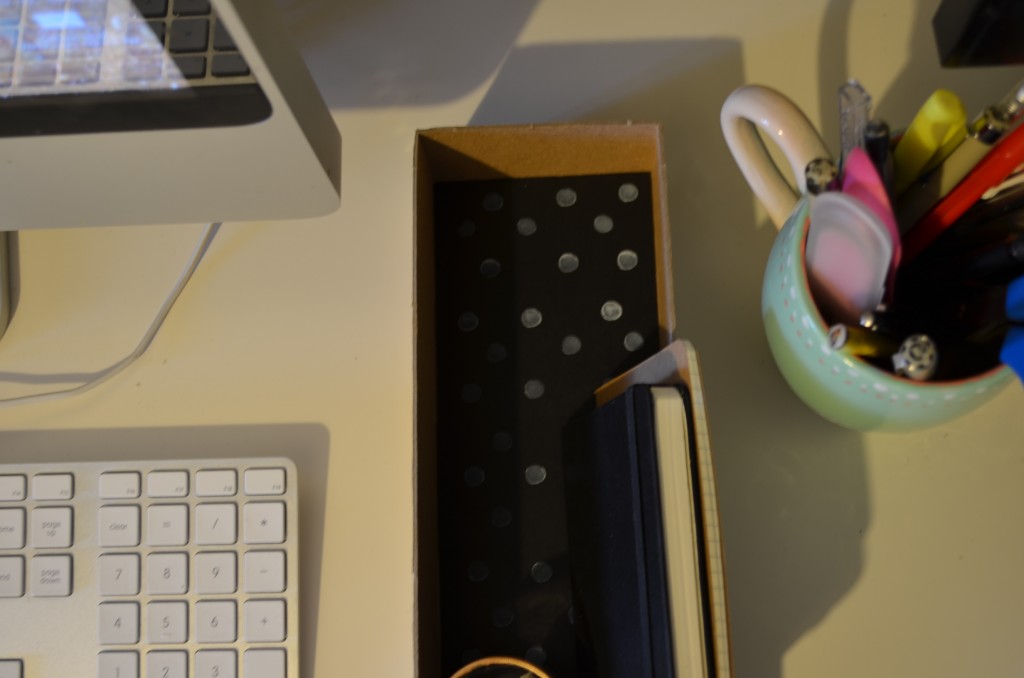
1. Cover the bottom of any box with black stock paper or any color you prefer (this is optional depending on what you’re stamping your pattern on, usually a nice contrasting color will look nice).
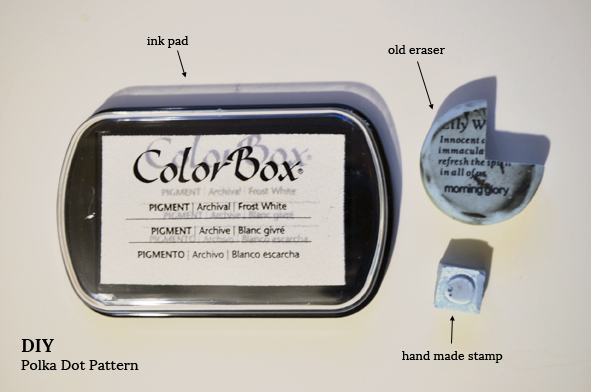
2. Create a polka stamp (check out my stamp tutorial to find out how to make your own custom stamps). I actually just carved this dot stamp out of an old rubber eraser I had.
3. Get an ink pad of your choice (I used this white ColorBox stamp pad) and stamp away! The way I created my polka dot pattern was just by shifting the dots over for each next line, so I stamped the first three dots at the top and on the next line created three more dots diagonal from the previous line above them, and I just continued to follow this pattern all the way down.
It’s something super simple to do to make things more interesting (and cute) on your desk!
Hope you all had a great New Years! I’m still trying to overcome my laziness from the holiday week, so in the meantime I’ve accumulated a few snapshots from my New Years Eve and some last minute DIY decorating ideas! It was super last minute planning for me and my sister but I think we did a pretty good job at decorating with what we had!

Amy printed out these clocks which we cut and glued onto bamboo sticks, you can plop these anywhere to make things more festive, we stuck them in vases, cups, and into the panna cotta I made (why not?).

You can turn old birthday party hats into festive NYE party hats just by covering them with bright colored paper or left over wrapping paper (I used both). Anything shiny and bright will do. All you have to do is take apart one of the hats (essentially we’re just using it as a template) and lie it down onto your sheet of paper/wrapping paper, trace around it, cut it out, and tape it over your old party hats!
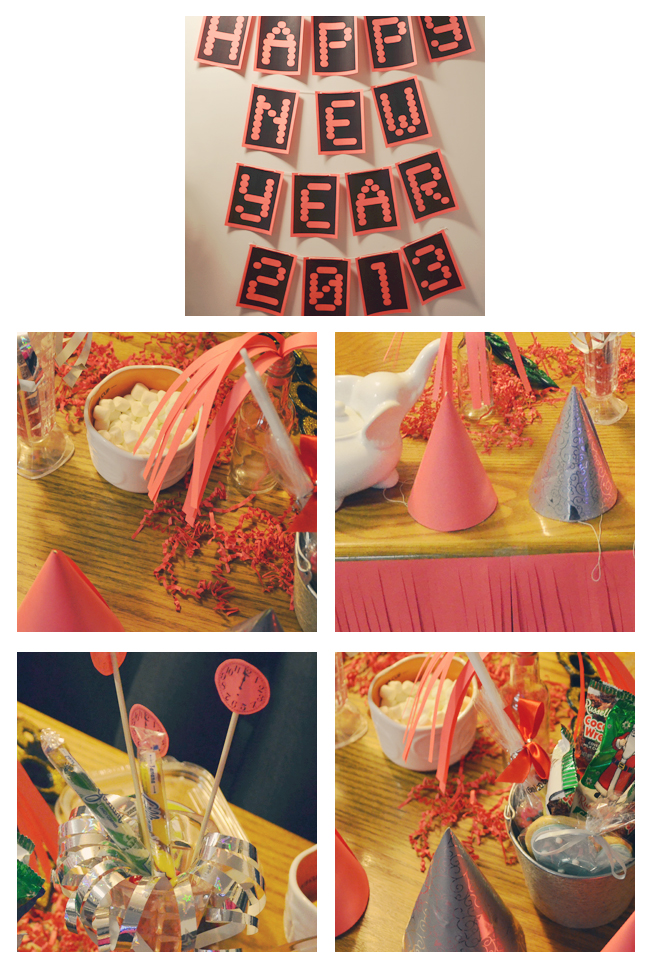 1) Amy printed out these letters, which we punched 2 holes at the top of each paper with a hole puncher, strung them together with yarn, and taped it up on an open wall. This was great for photo taking and our make shift photo booth. I downloaded PiciBooth on my iPad and stood it up on a stool across from the wall and done! I use a leather case for my iPad, so it stood up easily without a tripod.
2-5) Use whatever you have around your house that’ll spruce up your snack table. We used clear vases and empty bottles for candy, a silver bucket for miscellaneous goodies (this is perfect for leftover candy from xmas!), and these cute owl ceramic measuring cups to hold bite sized snacks like m&m’s, marshmallows, and pretzels. You can also cut some paper fringe for extra decoration around and on your table. Quick and easy!

My sis can make anything into something, and this year she’s turning this filler paper into our wreath for the holidays. She made some cute mini gift boxes and trinkets to hang on to it as well. Will post photos once it’s done!
I love the holidays, especially Christmas time. Everything about Christmas gets everyone in such a giving and friendly mood, if only that were on a daily basis, but I guess that’s what makes this time of year so special. I’m so grateful for my family, boyfriend, and friends and I hope everyone’s holiday break, whether extravagant or not, is spent with your loved ones.

Since opening up my Etsy shop I’ve always wanted to make some custom stamps to spruce up the packaging and I finally got my hands on the materials. You can use these custom stamps for gift tags, on cardboard (if you’re packaging prints or cards) to make it look less drab, or on the wrapping paper. Here’s a walk through of my first time making a custom stamp!
Materials:
- Tracing Paper & Pencil (or regular paper will do)
- Rubber Block (any brand will do, or you can use an old eraser, just make sure it’s flat and is thick enough to cut into)
- Speedball Cutter
- Ink Pad (any will do, but I’m using this one)

Start by drawing out your stamp design on to tracing paper. I like to outline it thicker, so it makes it easier to cut. Also, if you’re making the stamp as small as mine remember not to make your details too small because you won’t be able to carve them out precisely (unless you’re a pro Speedball cutter!). I had to omit the small hair wisps when cutting.

Flip your tracing onto the rubber block and use something to rub the tracing to transfer over to the rubber block.

Ta-da! It should transfer effortlessly and then cut it out of the block. I’m not sure why I cut it off so close to the tracing, but you should leave enough space around it to make it easier to cut.
Read More…


 1) Amy printed out these letters, which we punched 2 holes at the top of each paper with a hole puncher, strung them together with yarn, and taped it up on an open wall. This was great for photo taking and our make shift photo booth. I downloaded


