MAKE: DIY Custom Stamps
December 13, 2012
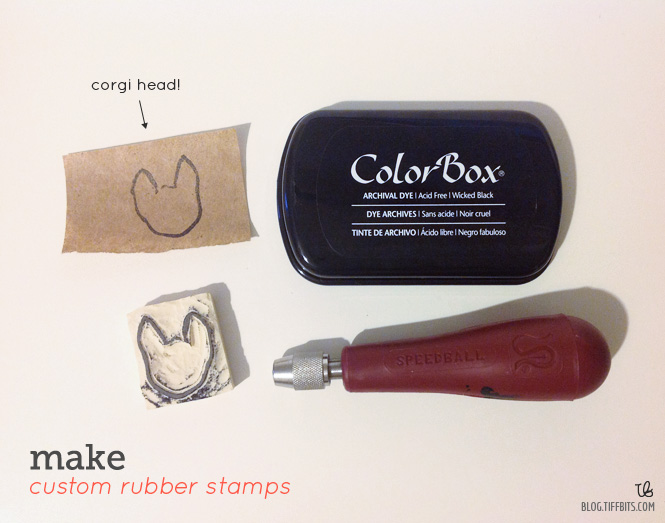
Since opening up my Etsy shop I’ve always wanted to make some custom stamps to spruce up the packaging and I finally got my hands on the materials. You can use these custom stamps for gift tags, on cardboard (if you’re packaging prints or cards) to make it look less drab, or on the wrapping paper. Here’s a walk through of my first time making a custom stamp!
Materials:
- Tracing Paper & Pencil (or regular paper will do)
- Rubber Block (any brand will do, or you can use an old eraser, just make sure it’s flat and is thick enough to cut into)
- Speedball Cutter
- Ink Pad (any will do, but I’m using this one)
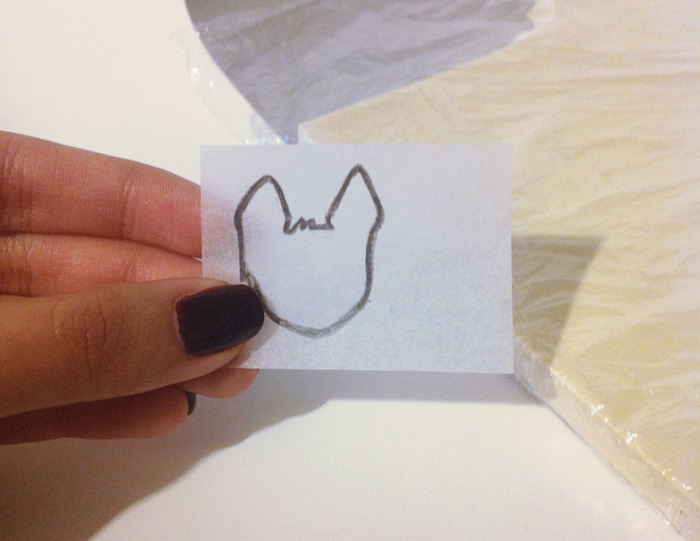
Start by drawing out your stamp design on to tracing paper. I like to outline it thicker, so it makes it easier to cut. Also, if you’re making the stamp as small as mine remember not to make your details too small because you won’t be able to carve them out precisely (unless you’re a pro Speedball cutter!). I had to omit the small hair wisps when cutting.
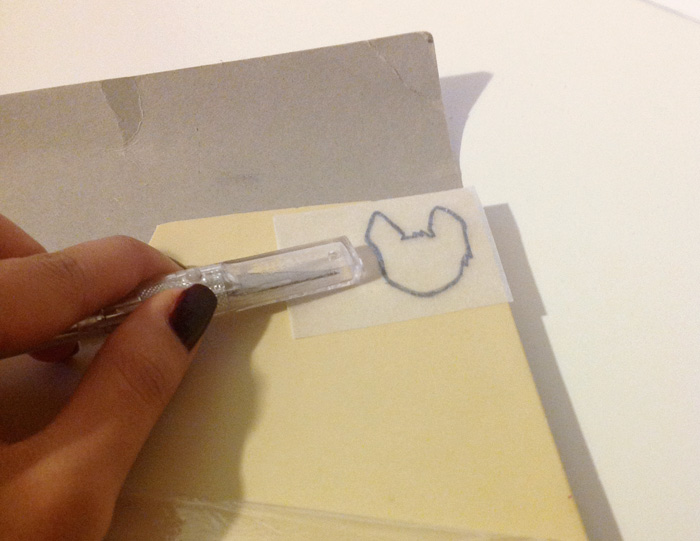
Flip your tracing onto the rubber block and use something to rub the tracing to transfer over to the rubber block.
Ta-da! It should transfer effortlessly and then cut it out of the block. I’m not sure why I cut it off so close to the tracing, but you should leave enough space around it to make it easier to cut.
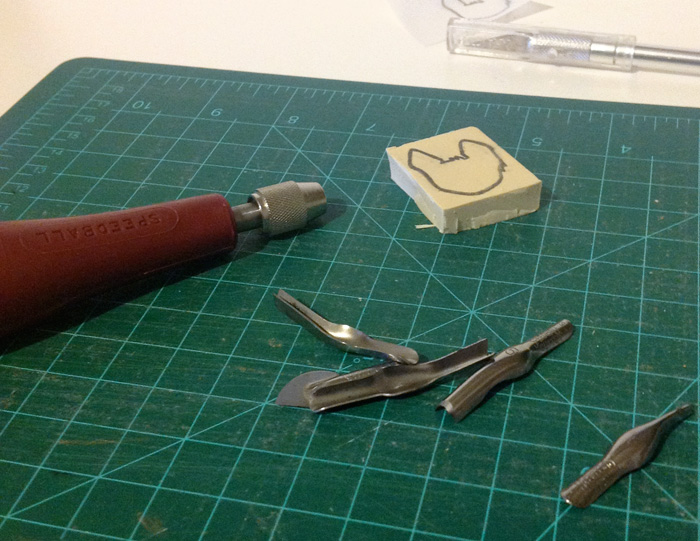
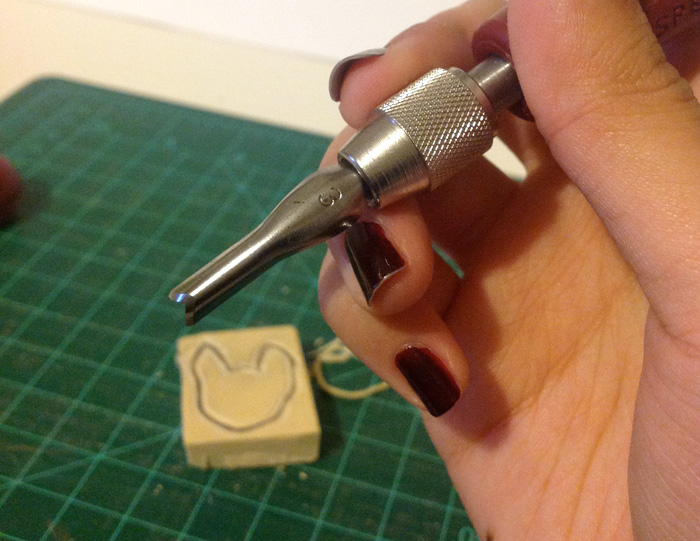
Get out your Speedball cutter. It’s not as scary as it looks! This is my second time using it, but practice makes perfect. Mine comes with different sizes and shapes.
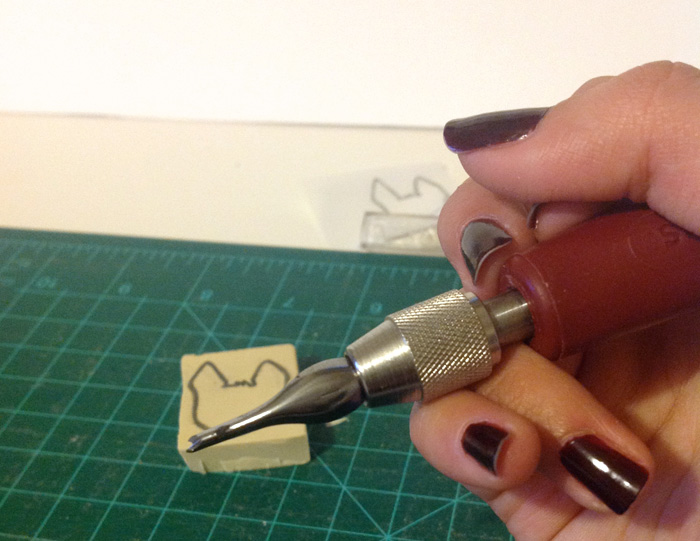
I’m starting with the smallest cutter, #1.
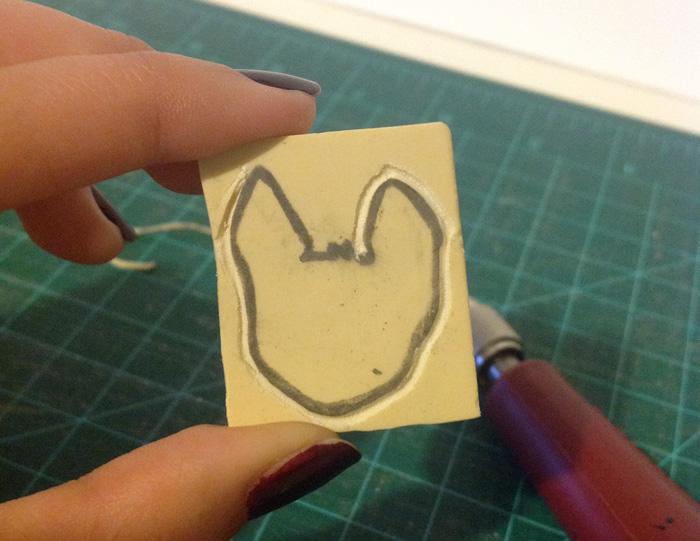
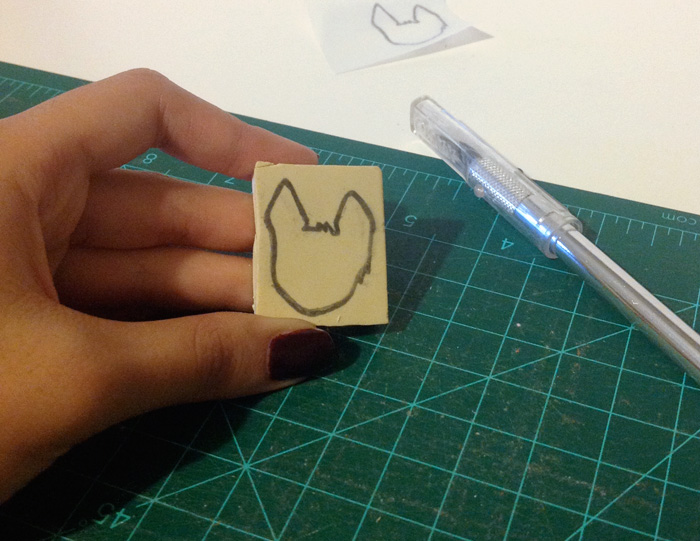
Start by cutting around your tracing. Yep, I messed up at the top of the head, that’s why I said don’t make your details too small. A tip is to maneuver the rubber block, not your hand, while cutting, it gives you smoother lines.
Now cut inside of the tracing. This will change depending on your design. I’m just creating an outline of the head, but if I wanted it filled in I would only cut around it.
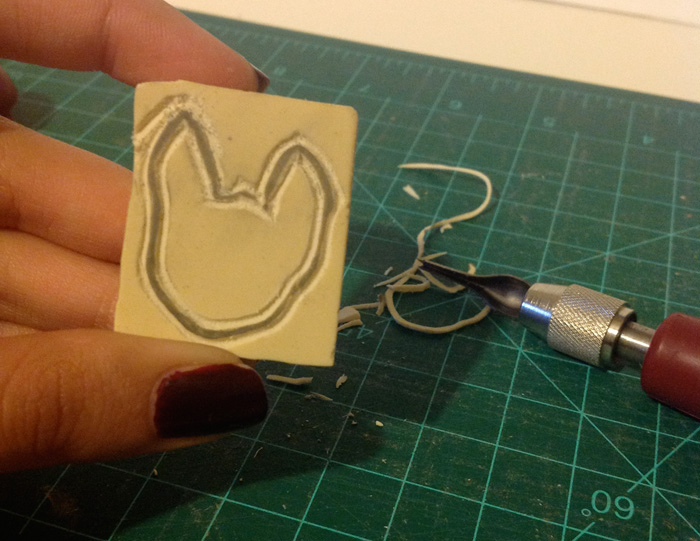
Next I switched to a bigger cutter gauge (#3) to carve out the inside and outside of the stamp.
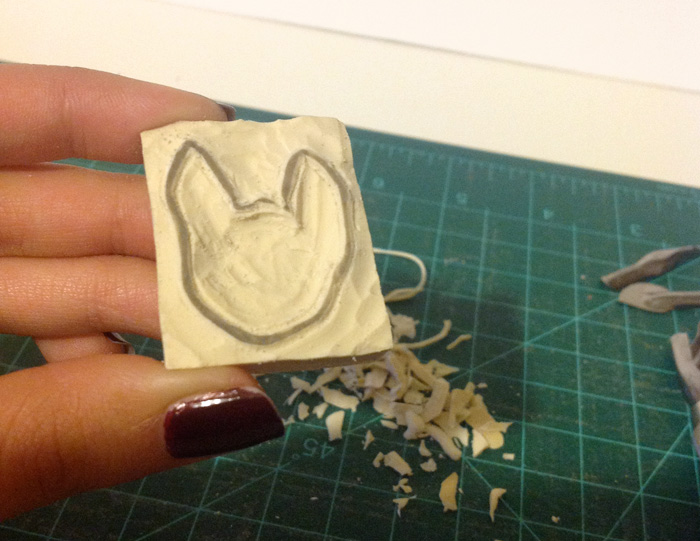
Nothing fancy. You probably don’t need to carve out as much as I did (I think I got carried away, hah), just enough so your design sticks out enough for when you put it into the ink.

I’m using this ColorBox Ink Pad in Wicked Black that I bought from Michaels for $5, which I think has good color pay off. It’s a very dark black and doesn’t look faded.
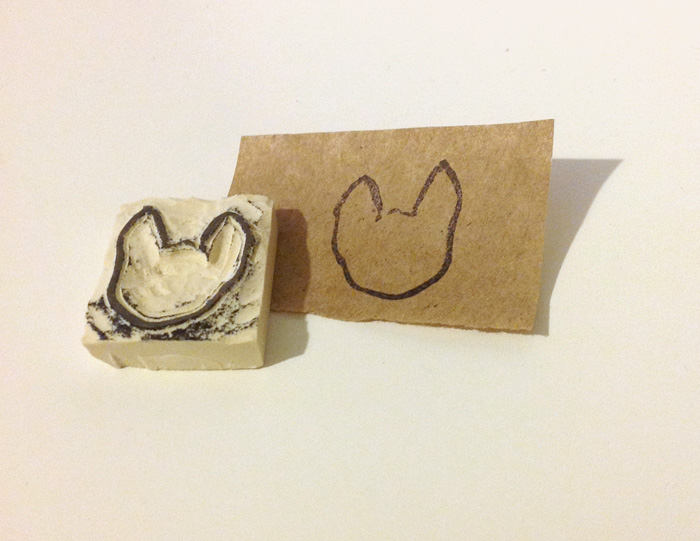
And you’re done! I pushed the stamp into the ink pad too hard so it got all over the bottom, heh.
Hope that was helpful! I took all of these photos with my iPad so I tried to color correct them the best I could. I single handedly took all of these photos while holding my iPad up in awkward positions trying to avoid iPad-shaped shadows, more difficult than it seems. I’ll be making more custom stamps for packaging for my etsy shop, if you order anything you’ll see this corgi head on your package!