DIY Polka Dot Pattern & 365 Photo Challenge – Day 8
January 8, 2013
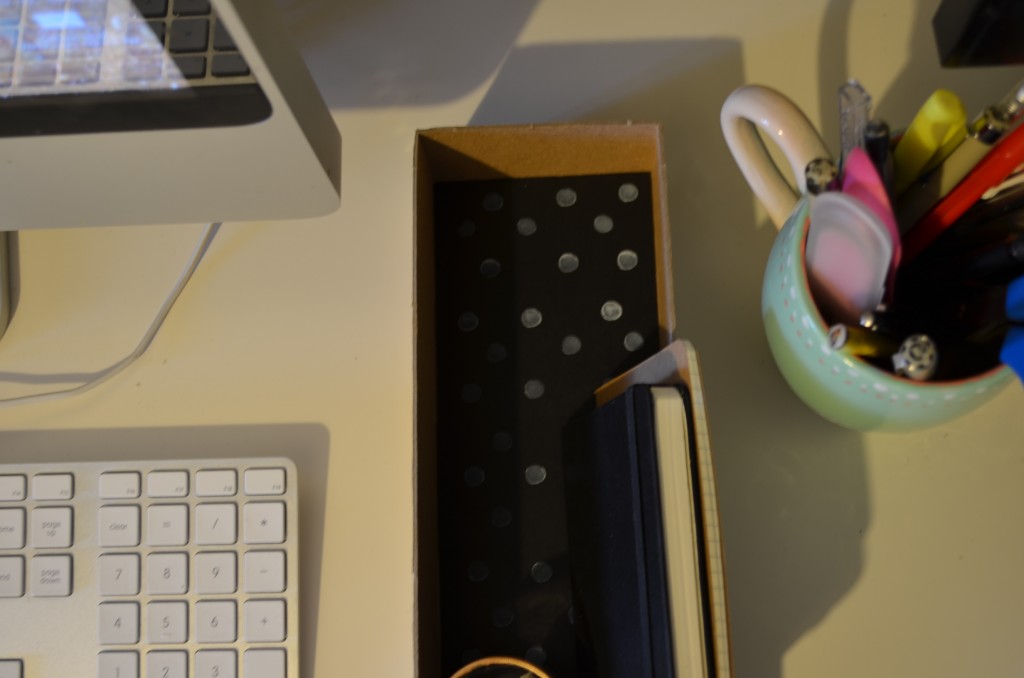
A new addition to my table. Here are the super simple and quick steps I took to make this polka dot pattern!


1. Cover the bottom of any box with black stock paper or any color you prefer (this is optional depending on what you’re stamping your pattern on, usually a nice contrasting color will look nice).
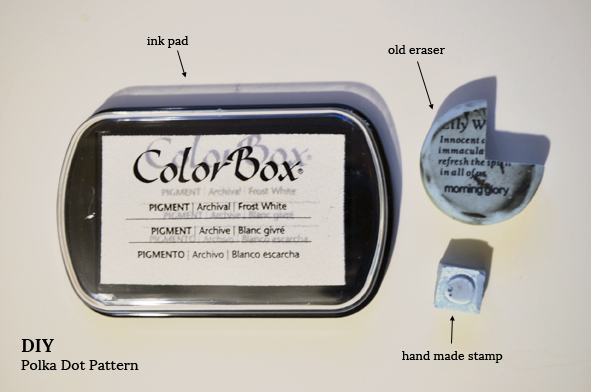
2. Create a polka stamp (check out my stamp tutorial to find out how to make your own custom stamps). I actually just carved this dot stamp out of an old rubber eraser I had.
3. Get an ink pad of your choice (I used this white ColorBox stamp pad) and stamp away! The way I created my polka dot pattern was just by shifting the dots over for each next line, so I stamped the first three dots at the top and on the next line created three more dots diagonal from the previous line above them, and I just continued to follow this pattern all the way down.
It’s something super simple to do to make things more interesting (and cute) on your desk!


